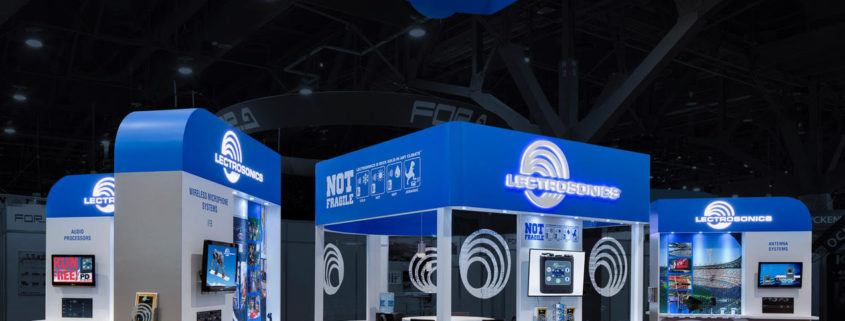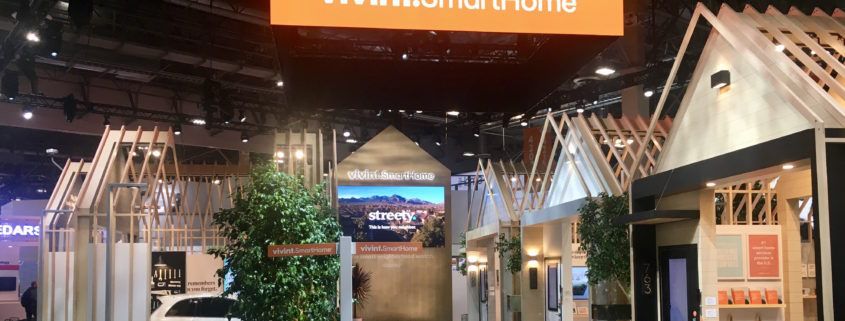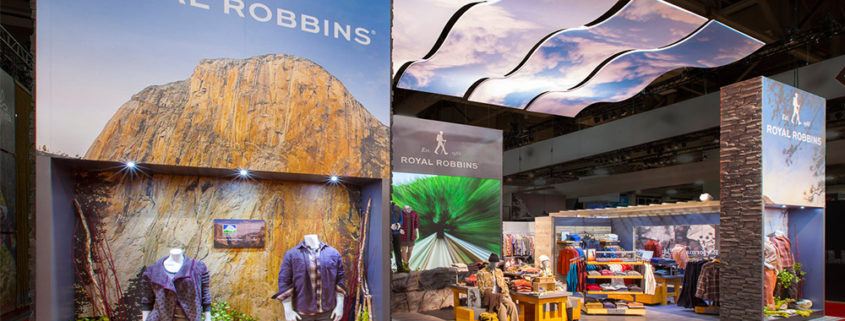
Top 5 Most Overlooked (But Crucial) Booth Elements
Your booth design is finished. The graphics look amazing. Products are displayed proudly. The traffic should flow smoothly through the layout. You’re all set, right? Maybe not. Take a look at these Top 5 Most Overlooked (But Crucial) Booth Elements for some trade show booth design ideas to make sure you have all of your bases covered.
Floor Padding & Seating
Your trade show booth can be designed as beautifully as possible, but if your employees are in agony from standing on their feet all day, no design in the world will be able to overcome the air of exhaustion in your booth. To ensure you have a successful trade show, make sure you stop and think about how to make your staff as comfortable as possible.
Floor padding is one of the top trade show booth design ideas and is the perfect way to save the feet and knees of your booth staff. This padding will be placed underneath the esthetic flooring of your choice (carpet, faux wood, etc.) and will provide some give to the otherwise hard surface. Whether you choose an ultra-plush padding that will only be placed behind a product counter specifically for your employees or you want mid-level padding under your entire booth, both everyone will appreciate this added comfort.
You don’t want your employees to be sitting around in your booth all day, but you definitely want them to have access to a place to rest their feet when traffic slows down. There are a couple options: you can either place a few benches behind a product counter so that the seating is hidden from the view of attendees, or you can intentionally create a comfortable lounge space that invites attendees and staff to take a load off. The stools are a great way to keep seating low profile, while the lounge makes your booth feel like a welcoming space for attendees to spend time. Either solution can make a positive impact on your booth, just take the time to consider what you want the seating to accomplish.
TIP: From our experience, trade show attendees actually spend more time in booths that have comfortable flooring. After a long day of walking around the exhibit halls, stepping onto a well-padded booth feels like walking on a cloud and they won’t want to leave — which means they’ll spend even more time perusing your products. Win!
Storage Space
Nothing ruins a beautiful trade show booth design faster than having a bunch of boxes stacked along the walls or staff backpacks tossed into a corner. You’ve spent a lot of time and effort making sure your booth is exactly what you wanted, so don’t let a lack of storage space ruin the day.
Professional trade show booth design companies, such as mackenzie EXHIBIT, can be extremely inventive with ways to incorporate storage into your booth without it affecting the overall design. Product counters, structural pillars, and even benches can be used as low profile ways to conceal items that need to be kept close at hand without being unsightly. These handy hideaways are perfect for boxes of catalogs, swag items, employee bags, and more. Think about how to incorporate this element into your trade show booth design ideas and it’ll make your experience as an exhibitor much more enjoyable.
Refreshment Access
When the booth is slammed during especially high-traffic times, your booth staff can hardly break away to run to the bathroom let alone stand in line to grab a snack or a drink. Keep your booth staff from becoming hangry during these stressful times by providing them with access to refreshments in the booth. Mini fridges and snack cabinets can easily be stashed into a column and make the perfect place to stock bottled water, energy drinks, granola bars, and anything else your team needs in order to stay on their A-game.
TIP: Stock up your mini fridge at the end of the day so that when your team arrives for the show the next morning, the drinks are already chilled and ready to go. If a happy wife means a happy life, then happy staff means a successful trade show. Trust us.
Product Security
When your booth is slammed with traffic, there’s a high risk of your products “walking away”. Trade shows are a very dangerous place when it comes to sticky fingers taking your products with them; avoid this hazard by making sure your gear is physically secured to your booth.
Incorporating security into your trade show booth design ideas can present a unique hurdle — on the one hand, you want to make sure your products stay safe, while on the other hand, you need attendees to have access to your products to become better acquainted with them.
mackenzie EXHIBIT can help you come up with an inventive way to accomplish both of these necessities. Whether we’re crafting an easy-access product cabinet that remains closed unless opened by one of your booth staff or we’re creating a low profile tether system so that your products can’t be taken more than 5 feet from the wall, we’ll work with you to devise a solution that suits your needs without negatively affecting the overall booth design.
Power Sources
If you’re making sales directly in your booth or your employees are having to set up meetings while at the trade show, a dead phone or computer can really put a damper on your productivity. Avoid this potential pitfall by incorporating power sources in unobtrusive locations throughout your booth — consider adding them in the storage areas we mentioned before so that all of the potential clutter can be contained to one area.
TIP: As with products, personal effects can also have a habit of “walking away” during trade shows — especially electronics. Don’t put your employees’ electronics at risk by placing power sources in easily-accessible areas. Instead, try to place them inside lockable cabinets or otherwise securable spaces.
Take these Top 5 Most Overlooked (But Crucial) Booth Elements into account when making your list of trade show booth design ideas, and you’ll be set up for a successful event.
Want more advice on how to have a successful trade show? Check out our four-part series on Creating a Trade Show Booth.
Ready to get started or have some more detailed questions on the booth design process? Give us a call at 801-621-7500 or email us here.